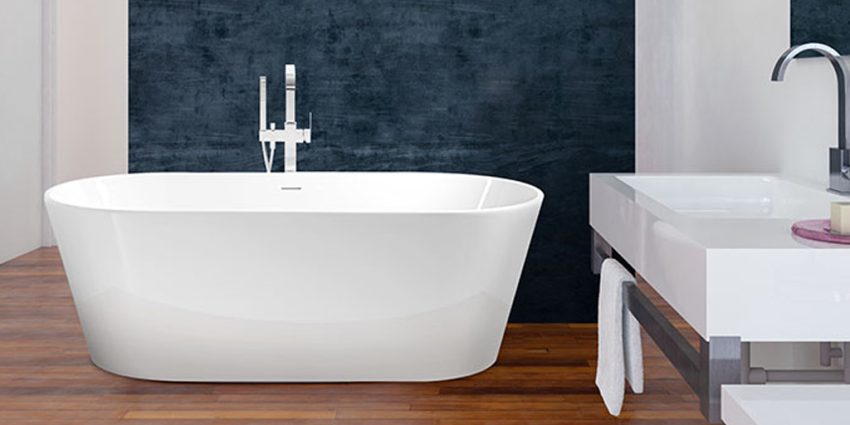
If you need to update your bathroom without breaking the bank, the placement of a bathtub insert installation is a reasonable decision. A bathtub insert surrounds your current tub and does not need extensive labor, saving you time and optimizing comfort. Because these inserts are durable and well-looking, they resist mold, mildew and stains. Installation is not complicated, so a bathtub insert turns your bathroom into a better place, helping you save money in the process. Now we will discuss the comprehensive guide for bathtub insert installation.
Comprehensive Guide for Bathtub Insert Installation
Inspect and Measure
Before bathtub insert installation, you should make sure the tub is intact and undamaged. For the installation to last, it is important to have a solid base. Use a tape measure to find out the exact length, width and depth of your bathtub. With correct measurements, the insert should fit perfectly without any gaps. You should recheck your calculations so that simple arithmetic errors do not slow the project or make it more costly. Before installing the bathtub insert, it is important to inspect and measure properly.
Choose the Right Insert
Choosing the proper insert for your bathtub is essential for its appearance and long-lasting finish. Durable products such as acrylic and PVC are popular among homeowners as they are both lightweight and immune to mold and mildew. Pick a style and color that will blend well with the decorations in your existing bathroom. When a liner matches the shape of your tub, it offers the most effective protection. Always review the warranty and customer feedback to ensure the product can withstand daily use.
Clean and Prep
To begin, the existing bathtub should be wiped down and thoroughly cleaned. Take care of all solid scrapes, drops and dirt in the metal seal to support the tape’s bond. It is important to make sure that the surface is dry and free of any dirt before you move on. Eventually, the insert might move or fall out since the glue that holds it weakens from moisture or dirt. When the process is done correctly, the insert will stay in place for years without falling off. When treated with respect, the installation progresses smoothly and the outcome lasts for years.
Install and Seal
Ensure you follow the maker’s advice when installing the new sealant on the dry surface of the old tub. Next, set the new bathtub insert on the old tub precisely, trying to prevent any unevenness around the edges. Press hard to ensure a solid adhesive bond. Seal all edges and seams with premium waterproof caulk after installation to prevent water damage and leaks. Besides protecting underlying parts, sealing also creates a clean, smooth look. Proper bathtub insert installation are crucial to making the insert long-lasting and preventing mold and water damage.
Cure and Maintain
After fitting the bathtub insert, follow the glue maker’s advice and wait 24 to 48 hours without moving it. A strong bond is established between the insert and the bond resin, so curing the insert properly is necessary. While in this curing period, it’s advisable not to use the bathtub. Once your new insert has completely cured, clean it using mild and non-abrasive cleaners to avoid stains or mildew. If you maintain your bathtub insert correctly, its shine and life will be protected for years.
Conclusion
Getting a bathtub insert allows you to refresh your bathroom, all without spending a lot of money. If you inspect, clean, seal and cure each layer, you can make sure your floor lasts for years and looks beautiful. By following each step carefully—from inspection and cleaning to sealing and curing—you ensure a long-lasting, attractive upgrade. Acquaviva’s bathtub insert installation service offers a stylish, strong and easy-to-install product for a convenient renovation.